ELEVATING THE ECOMMERCE EXPERIENCE
eCommerce Development and Marketing
We build, maintain and market custom, agile eCommerce websites to the highest standards of usability, functionality, and performance.
InteractOne by the Numbers
26+
YEARS IN BUSINESS
17+
YEARS WORKING WITH MAGENTO / ADOBE COMMERCE
$1.4B
BILLION IN ANNUAL CLIENT MERCHANT REVENUE
Trusted by over 250+ brands and organizations


eCommerce Services
We Are a One-Stop Shop For All Your eCommerce Development, Design, Maintenance, and Marketing Needs.
Development
Successful Development relies on knowledge and experience.
Maintenance
Spend more time building your online business and less time trying to fix it.
Design
Successful design represents your brand, is easy on the user, quick-loading and adaptable.
Marketing
Stand out from the crowd. Grow your eCommerce business with Digital Marketing.
Our Work
Featured Case Studies
We build, maintain and market custom, agile eCommerce websites to the highest standards of usability, functionality, and performance.

4 Tips for Writing Great Product Page Meta Descriptions
Meta descriptions are key to generating organic traffic that converts. Read four tips from SEO experts on developing product page meta descriptions that convert.
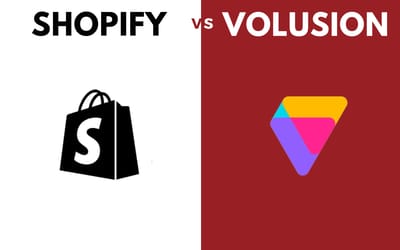
Shopify vs Volusion: Which Platform Suits Your Online Store Needs?
An unbiased approach to Volusion vs Shopify to help our readers select the best eCommerce platform for their online store.

Miva vs. Shopify eCommerce Platform Comparison: Should You Migrate Your eCommerce Site?
Compare Miva vs. Shopify eCommerce platforms to find the best for your business.
Drop Us a Line At:
Or, if you prefer an old-fashioned phone call:
Phone (USA): (513) 469-3362
Proudly headquartered in Cincinnati, Ohio
![]()