How to setup Magento eMail Templates for M2
When a customer makes a purchase, or changes their password, they are automatically sent an eMail from your Magento store. It’s important that merchants update these triggered and transactional template eMails to match their brand. Notably, Magento makes it easy to customize these types of eMail templates to match the design of your website for branding purposes. In addition, merchants can also create eMail templates for different store views for different languages or sub-stores within Magento.
The process for updating Magento templates is fairly simple. The admin between Magento 1 and Magento 2 is laid out differently, but the steps are essentially the same for updating eMail templates. This also applies to both versions of Magento Open Source (previously referred to as Community Edition) and Magento Commerce (previously referred to as Enterprise Edition).
1. Creating Custom eMail Templates – Getting Started
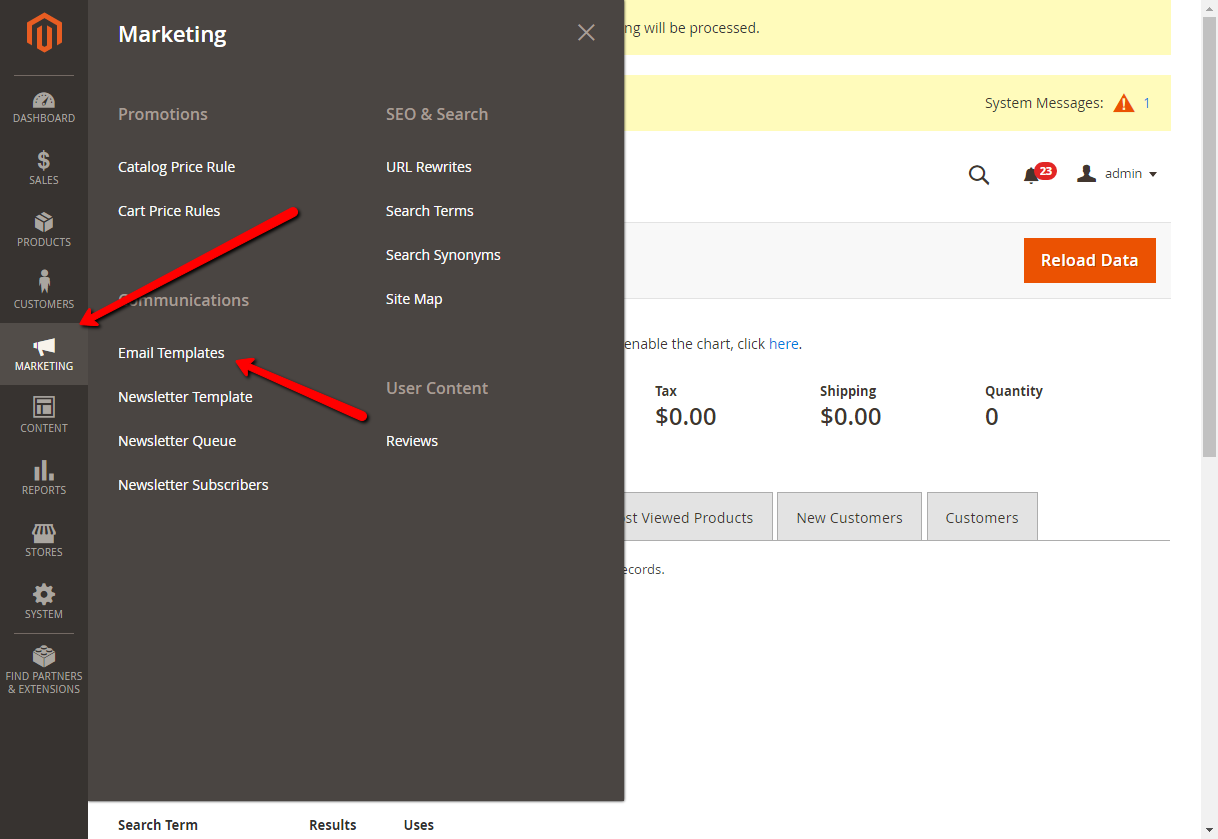
To access the transactional eMail section go to MARKETING > Communications > eMail Templates
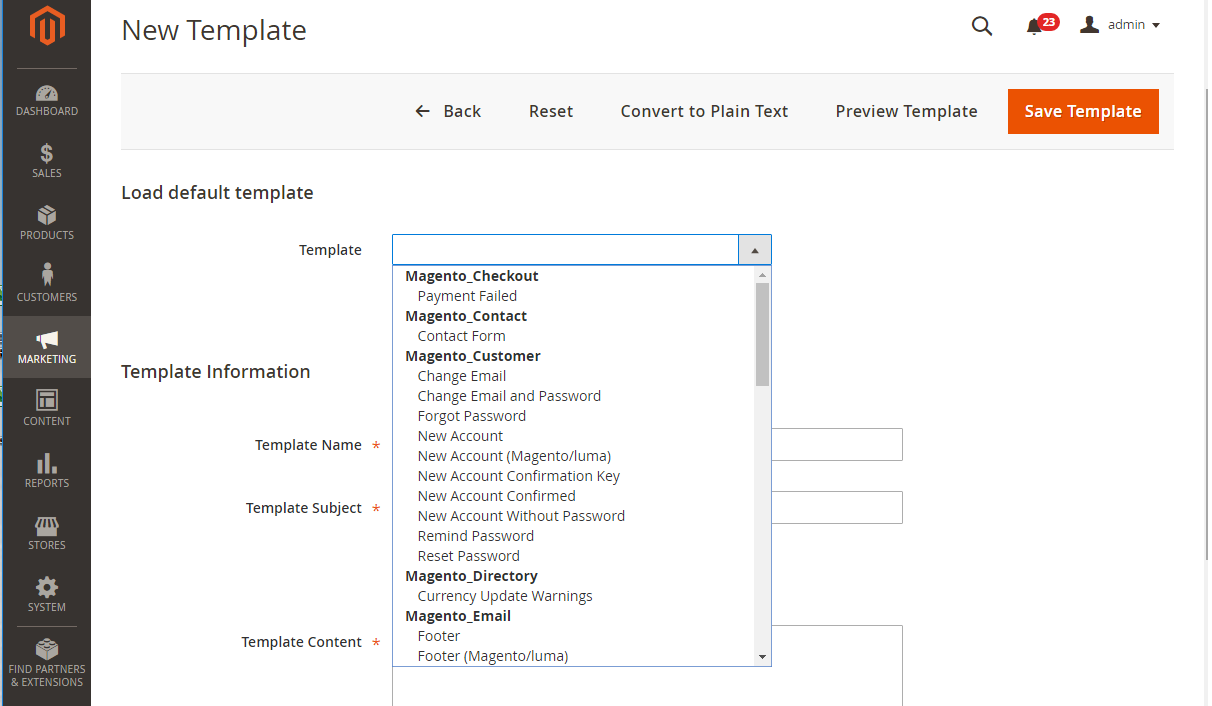
The drop down box shows all of the default Magento templates available. Notably, all of the templates will utilize your store logo and have quite a few dynamic variables. Out of the box, nothing is hard coded to say Magento. At InteractOne, we really emphasise creating a consistent branding experience across our merchant’s sites and eMail communication. And in some cases, we will simplify the eMail templates to display properly on mobile.
As shown above, there are many template options such as “New Order,” “New Credit Memo,” as well as a “For Guest” options. Templates that do not note “for guests” are intended for registered users. See below:
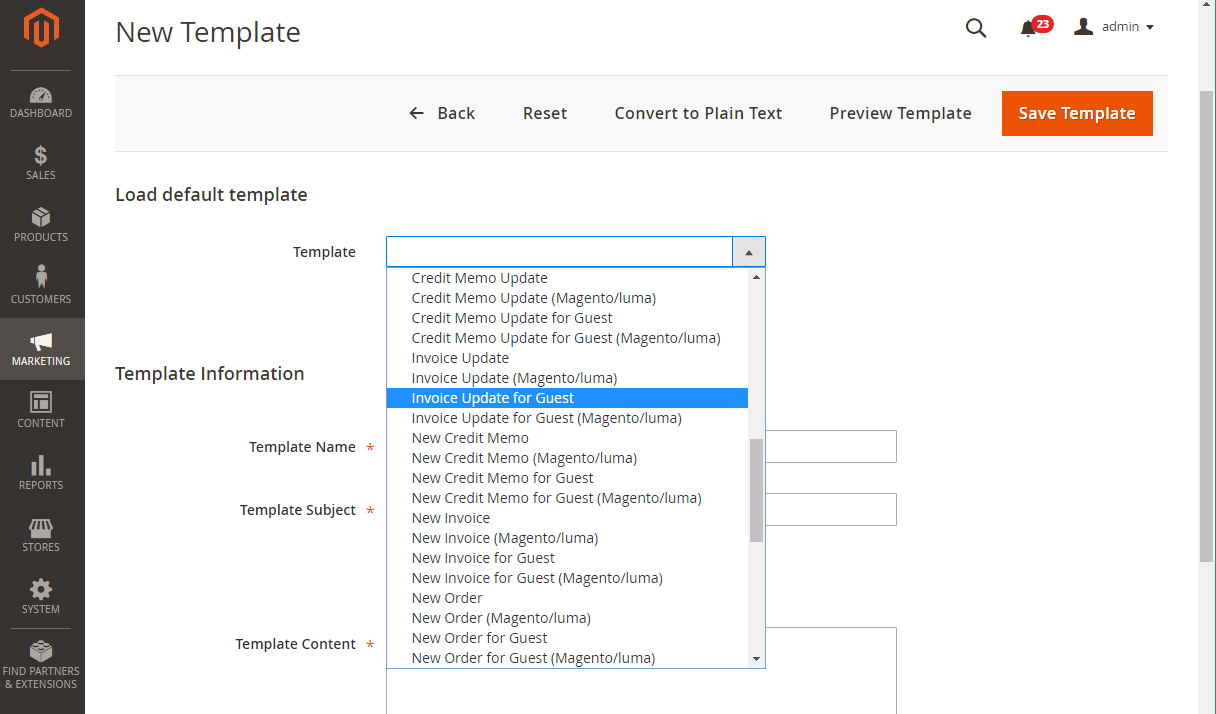
So select the template you wish to edit and click load template.
Special Tip: Load a template eMail to view the HTML code to use as a guide for eMails you’re trying to create. This is helpful when you need an example of code but do not need to edit a full template eMail.
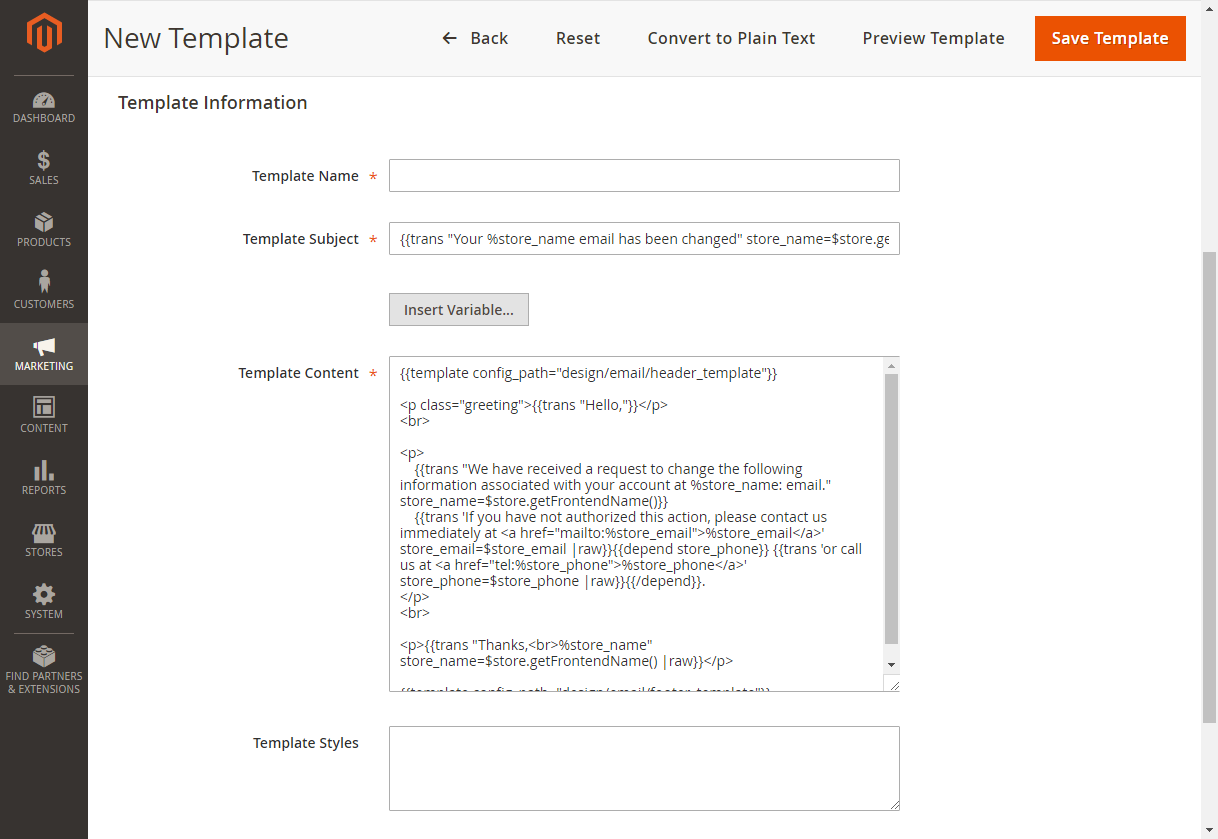
After the template has loaded, give it a name and add a subject line. You can create anything you want, or stick to something simple. The default is usually simple and includes with your store name. See below:
2. Creating Custom eMail Templates – Let’s talk about variables
You’ll notice that there are several variables available throughout the template. These are dynamic variables that will pull settings from your magento configuration into the content of the eMail. For example, these could be the subject line or the body. The store prefix is a store view level prefix, meaning you can give your website a different name on the store level. Or, you can have different settings for your order increment ids, phone, or address based on the store view level. Those examples can be dynamically inserted into the template. See below:


3. Creating Custom eMail Templates – Mobile Friendly eMail.
A popular request among merchants is to create a responsive or mobile friendly eMail. Notice the templates use table settings which by nature are not mobile responsive or mobile friendly.

Special Tip: It’s best to have a developer create an overwrite to the existing layout files if you want to change anything in those sections. Any further directions on how to actually edit those would need to come from an experienced developer.
4. Creating Custom eMail Templates – Template Styles
The Template Styles section is CSS and requires typical ID and class statements that can be built out in line. Editing or adding CSS to the Template Styles section will pull the styles into the Template Content section above.

5. Creating Custom Templates – Check Your Work
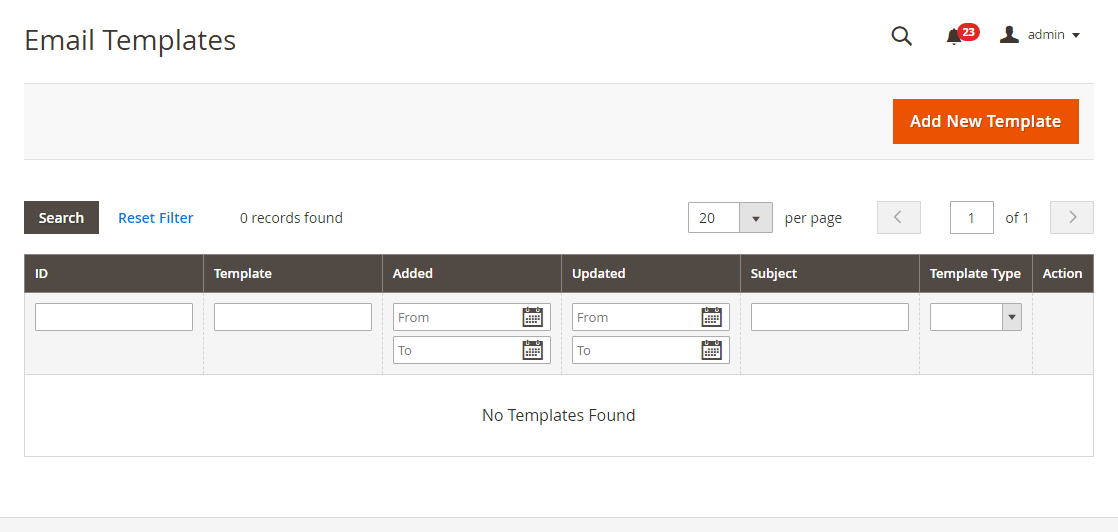
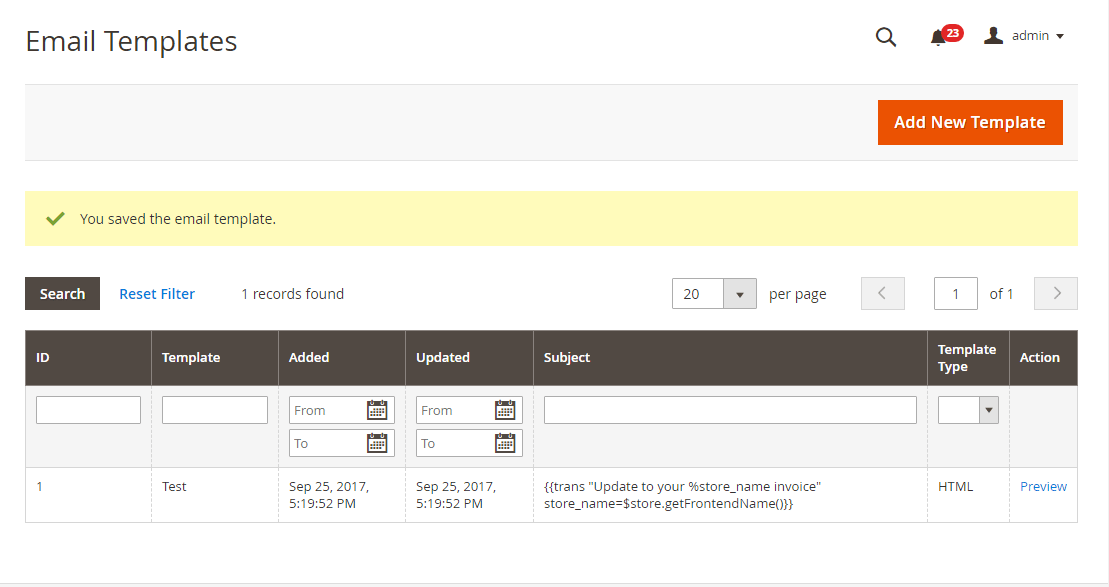
After your template is setup, save it. Once saved, you’ll be directed back out into the eMail Templates window where the new custom template will be available. See below:
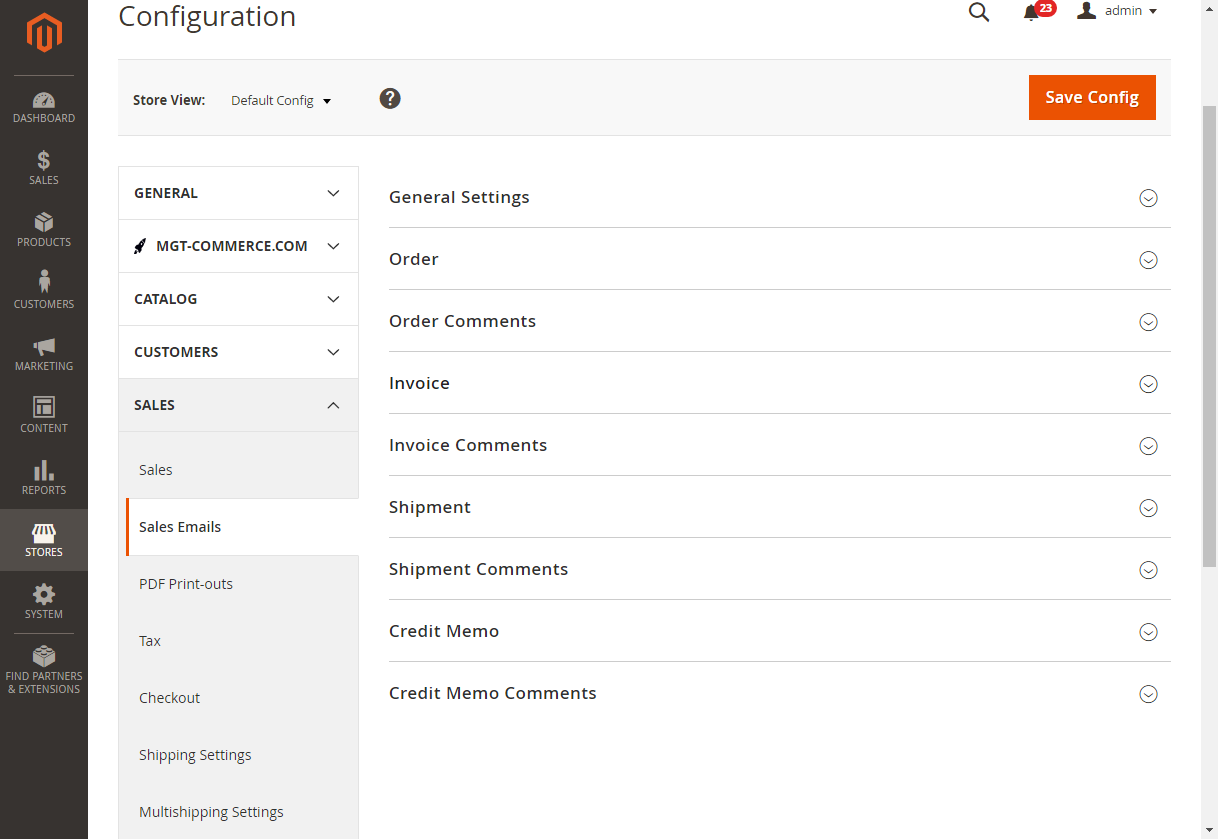
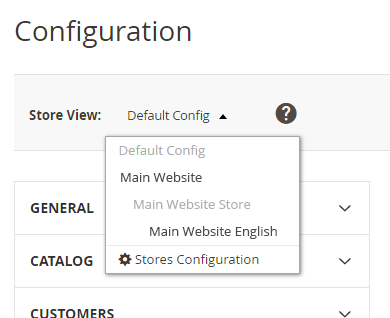
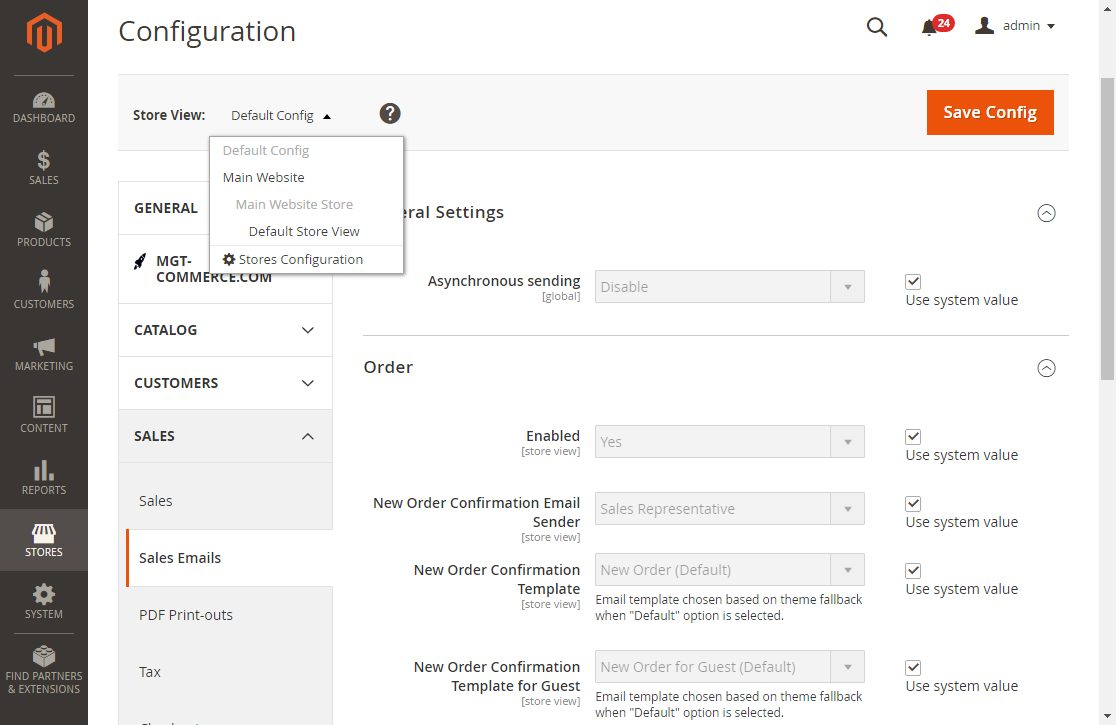
To apply the new eMail template, open a new tab, go to STORES > Settings > Configuration > SALES > Sales eMails.
Need help with Magento eMail Templates?
In addition to our tutorial above, Magento offers excellent documentation on editing eMail templates. Magento offers even more detail including how to edit headers and footers. However, if you don’t feel Magento savvy or don’t have time to customize your eMail templates, we can help! Contact us today to talk to a Magento expert about Magento eMail templates or give us a call 513-469-3345.